A Furniture Masterpiece is Born
Take one old cabinet, a little paint, a dash of silver leaf, a few heart stopping moments and “Presto” a masterpiece was born.

That’s exactly what happened when I reinvented a dark antique cabinet that I had been dragging around over the last several years. Please join me on my journey of reinventing and overcoming, see how I changed it’s look and conquered a close failure.
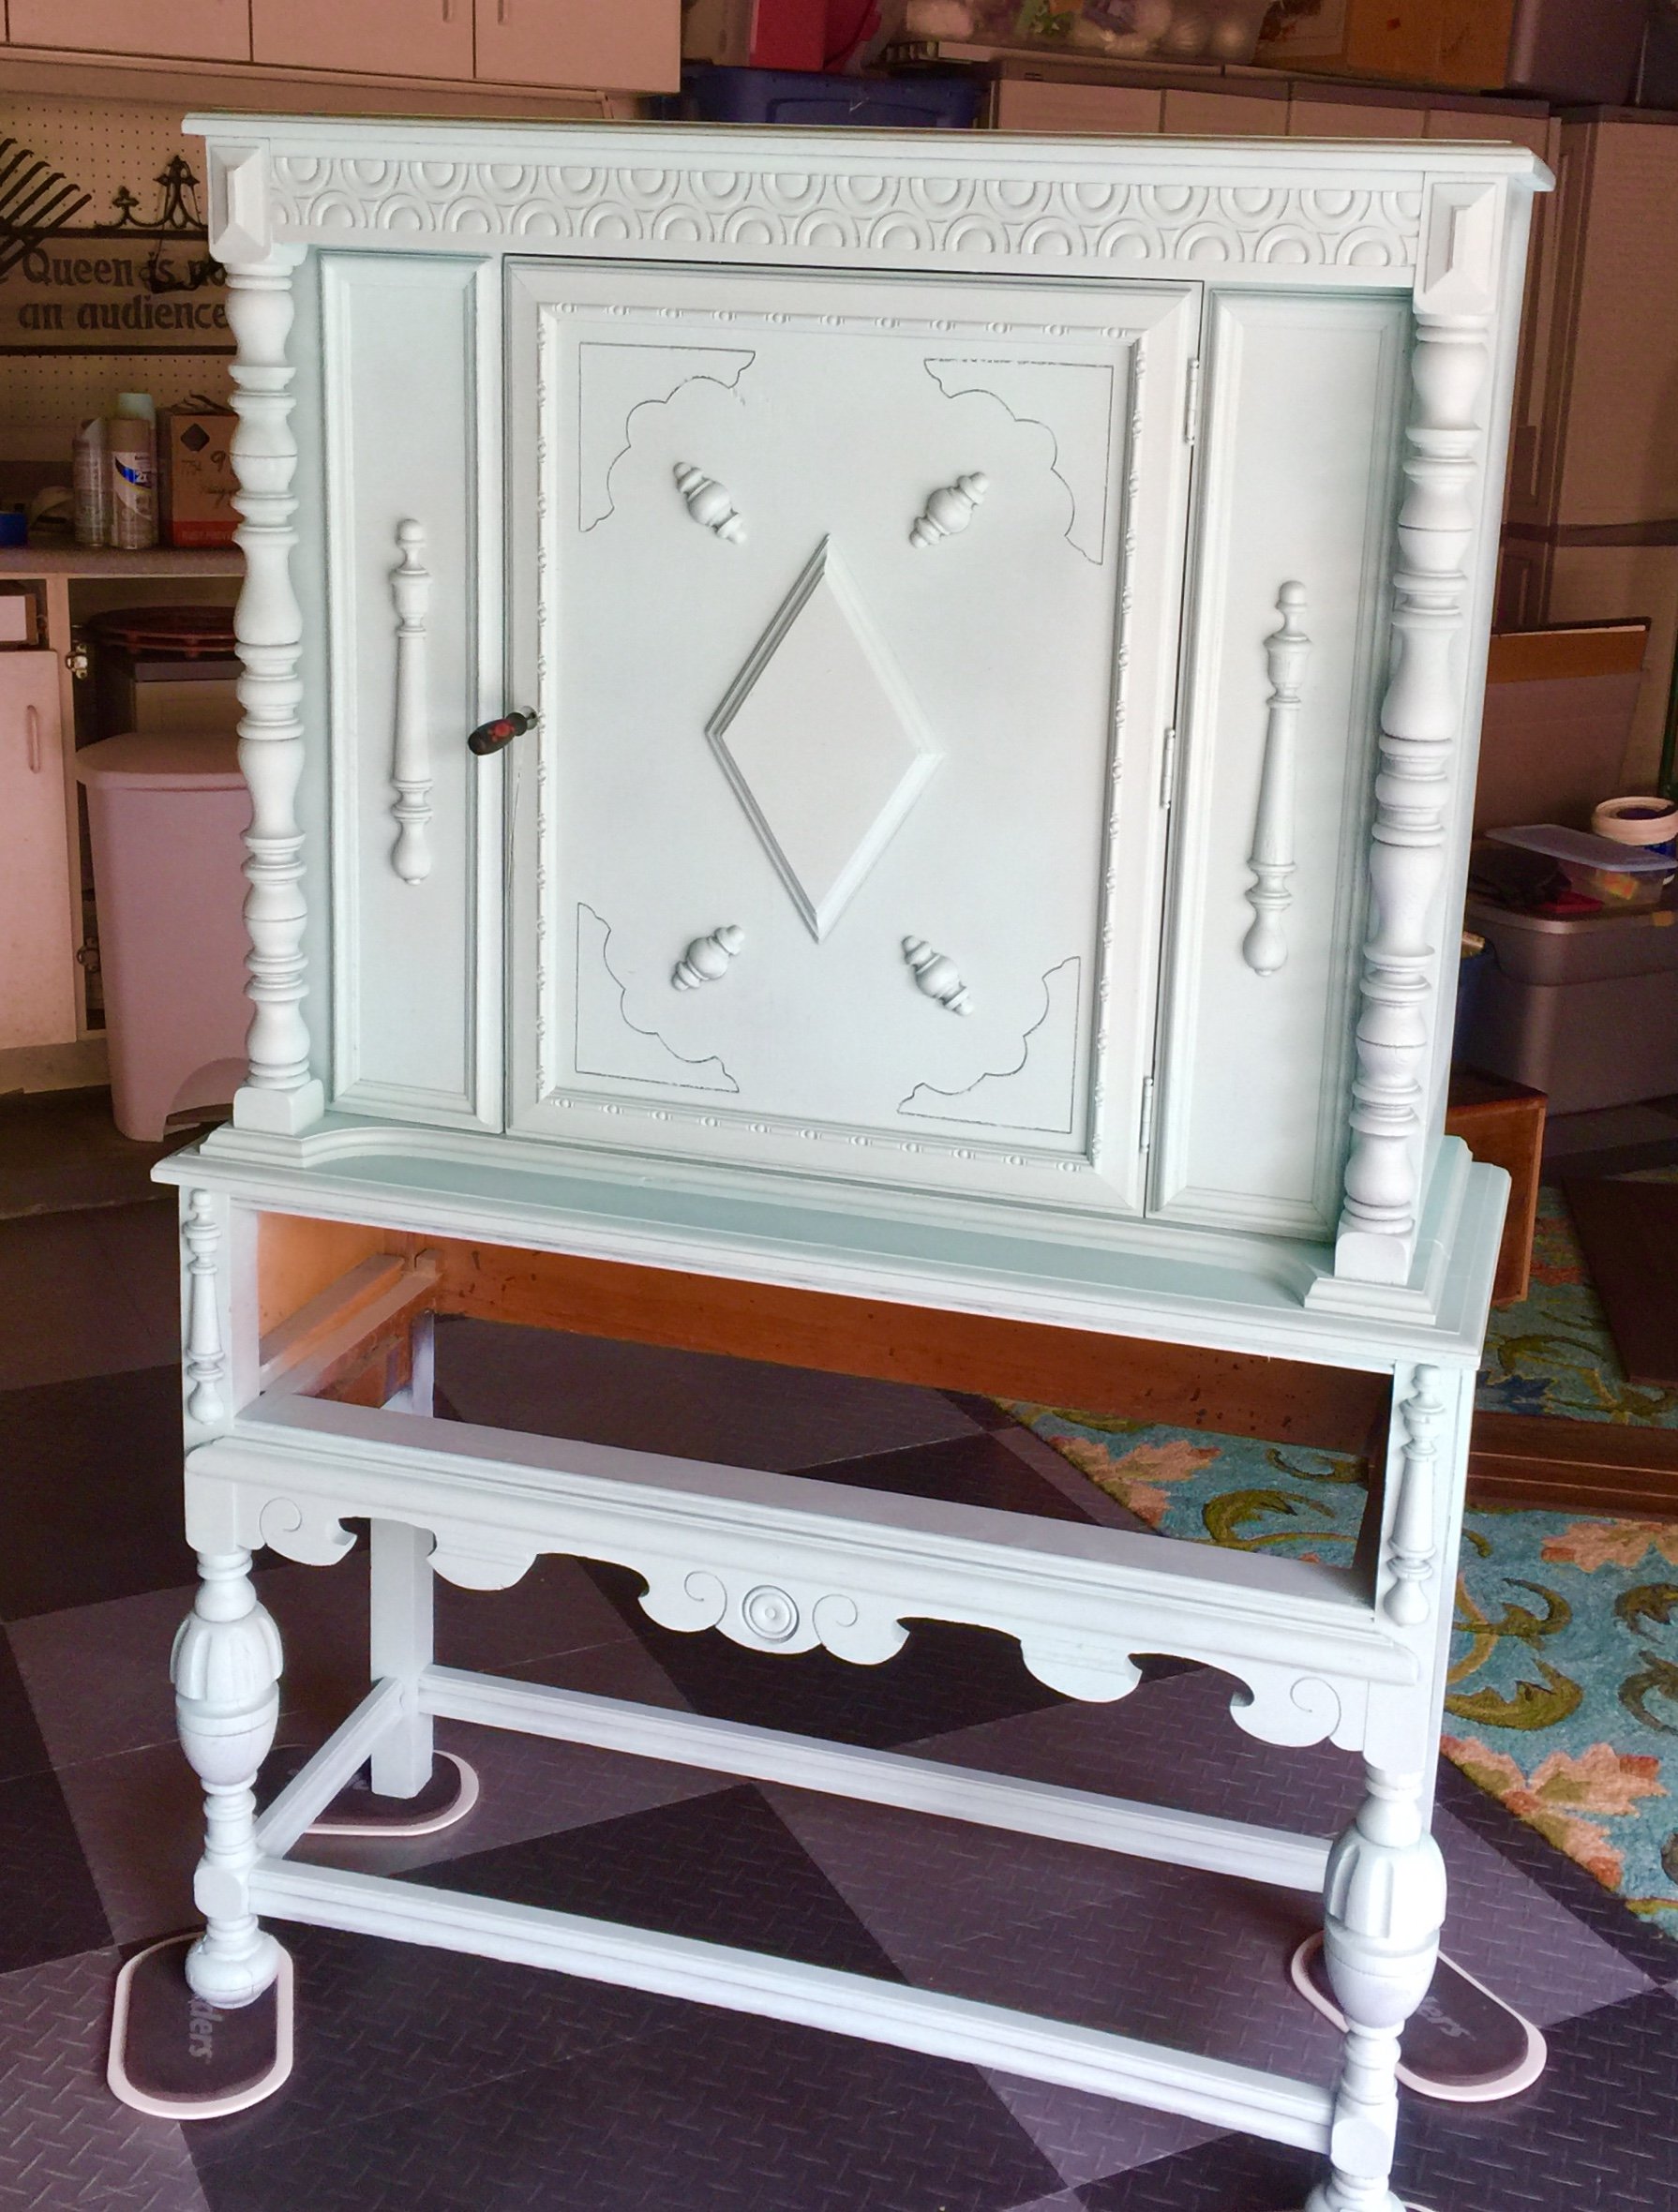
I knew I loved the shape, the size and age of the piece, but I always wanted a different finish. For years I wanted to do it I just couldn’t bring myself to painting it. I had to get past the “antique police voices” in my head...meaning “never paint an expensive antique, it destroys its original value”. So with that thought in mind I had a strong talk with myself, starting with not liking its dark antique color or never using it as the piece I had envisioned. Finally I came to the conclusion...if I wanted to keep the piece, I would need to change it to look more relevant. To the left, see the original dark finish.
Making it Work
After *prepping & cleaning the cabinet, I was ready to get to the fun of creating. Looking forward to my vision of reinventing the hidden gem inside and creating a masterpiece for my foyer.
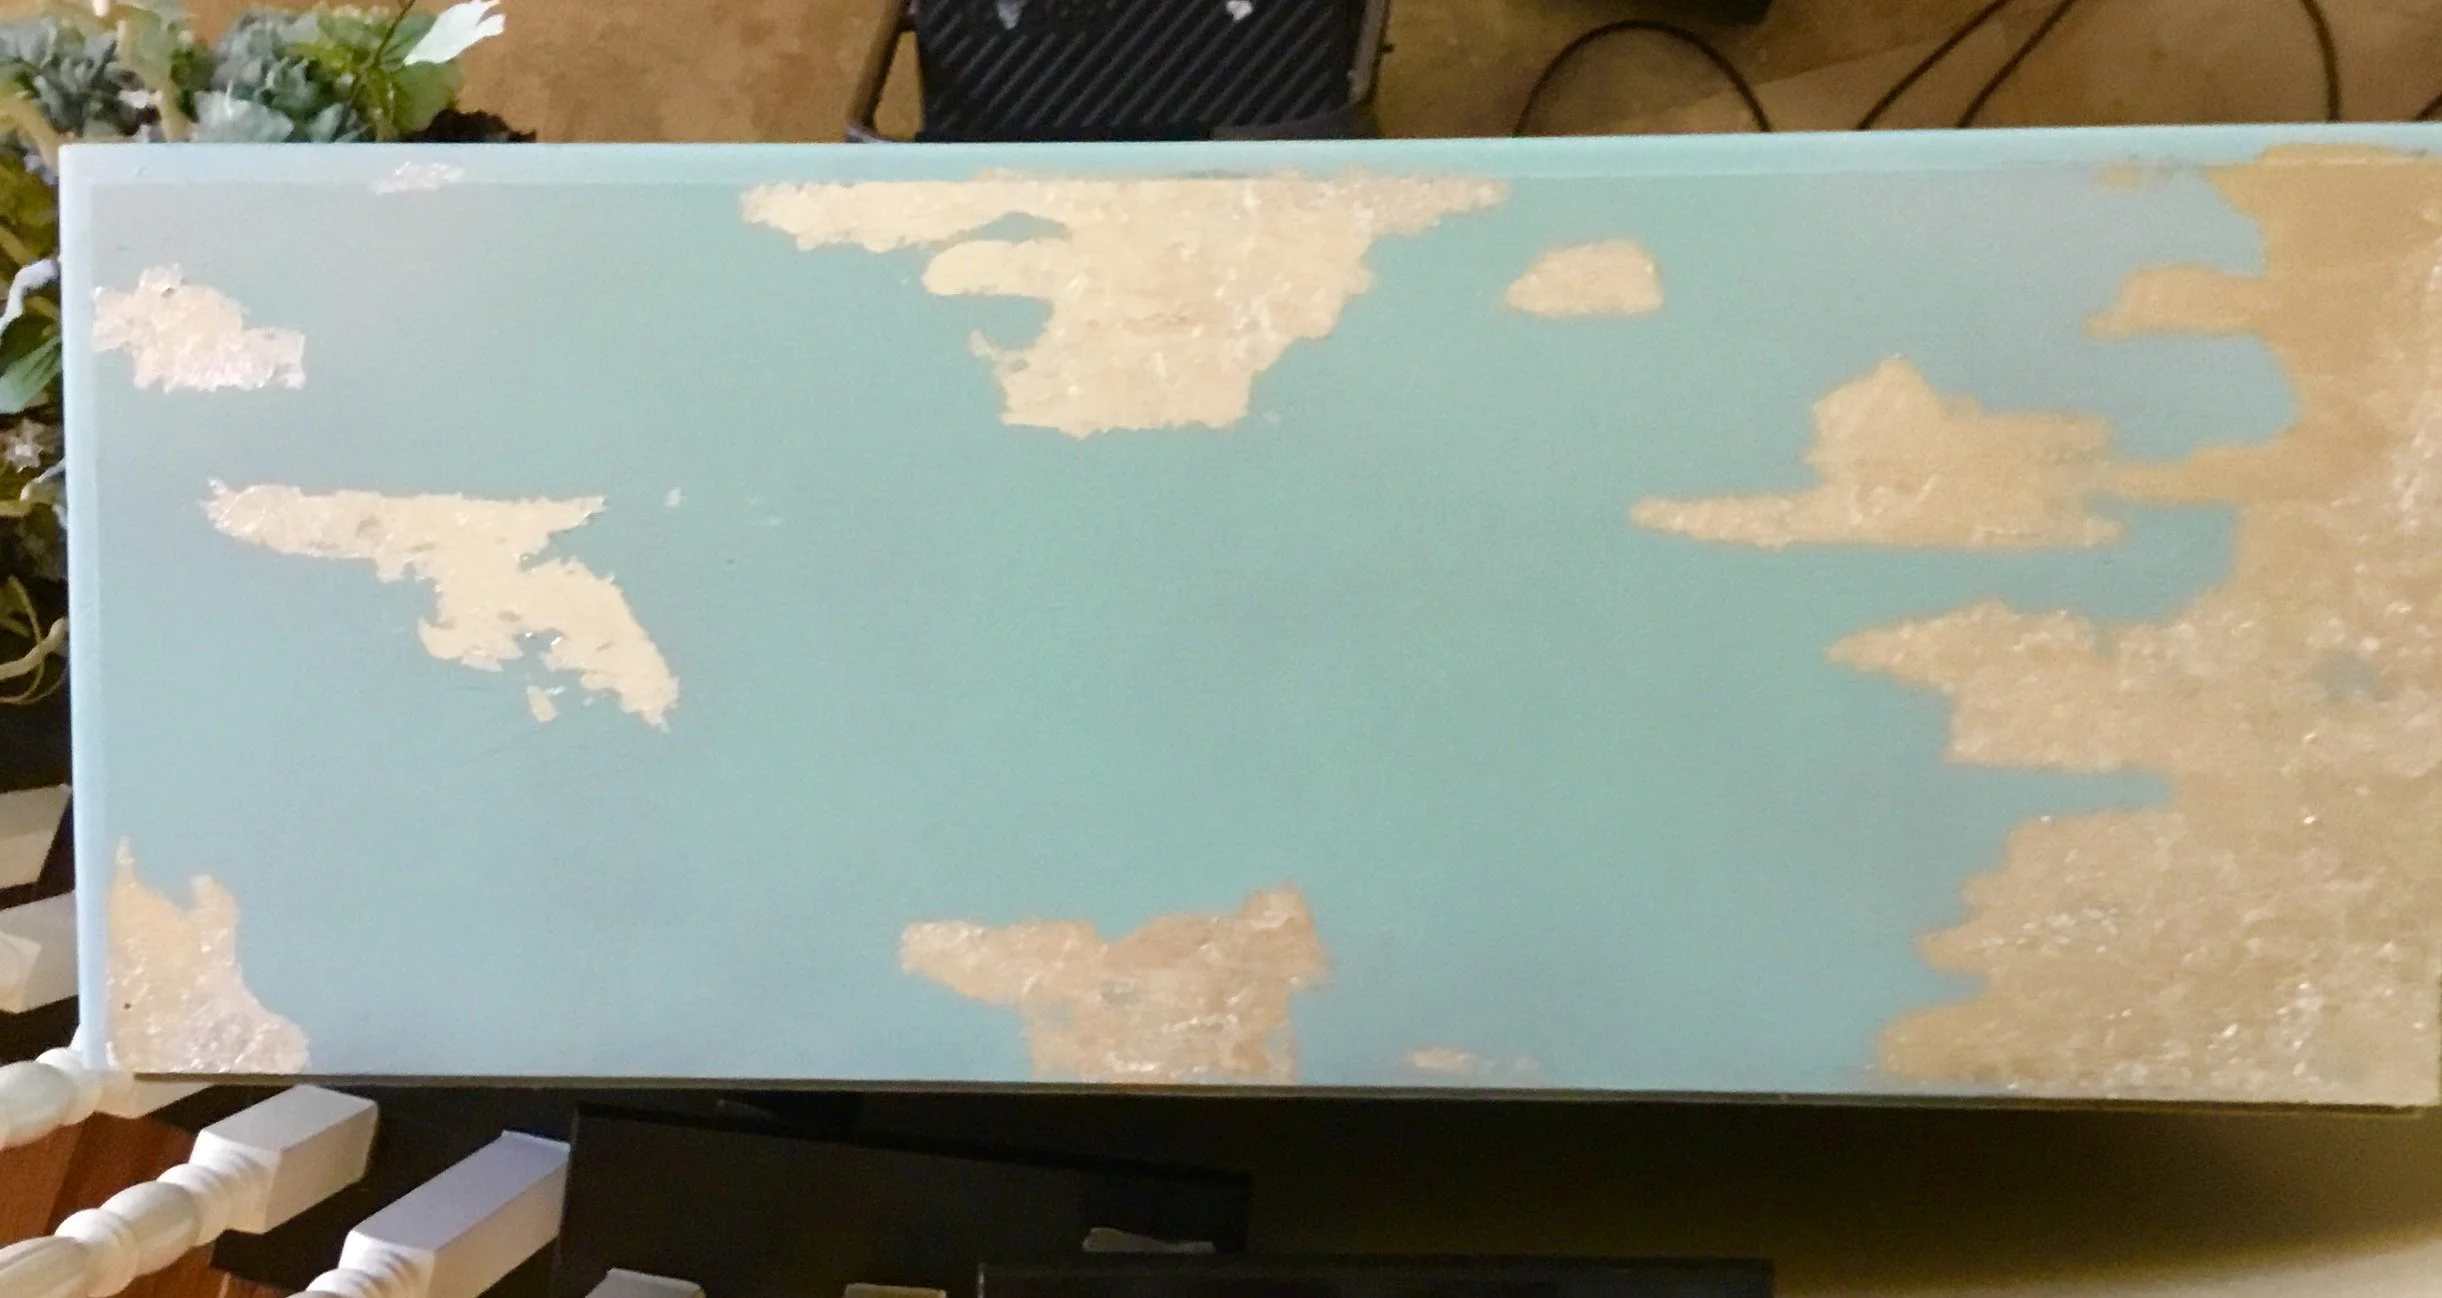
My design was to use a duck egg blue color or a soft aqua as my base, I wasn’t sure what I was doing with the decorative details or ornate design at this point. I was hoping those ideas would come to me as I progressed along. My first priority after preparing the cabinet for the *paint application was finding a color and finish. I settled on aqua, Krylon satin spray paint with primer. By using the 2 in 1 spray I would eliminate the primer step, saving me time & getting me closer to my finished piece...so I thought.
After covering the dark finish with several thin coats of Krylon paint/primer spray the first day, as you see above, I decided to allow the piece to completely cure before adding the final even coat of color. I waited a couple of days before returning to the cabinet, where I excitedly began to spray what I thought would be the beautiful finished coat, per usual. Moments after spraying I began to see the paint lifting and alligatoring, as if it were reacting to itself.
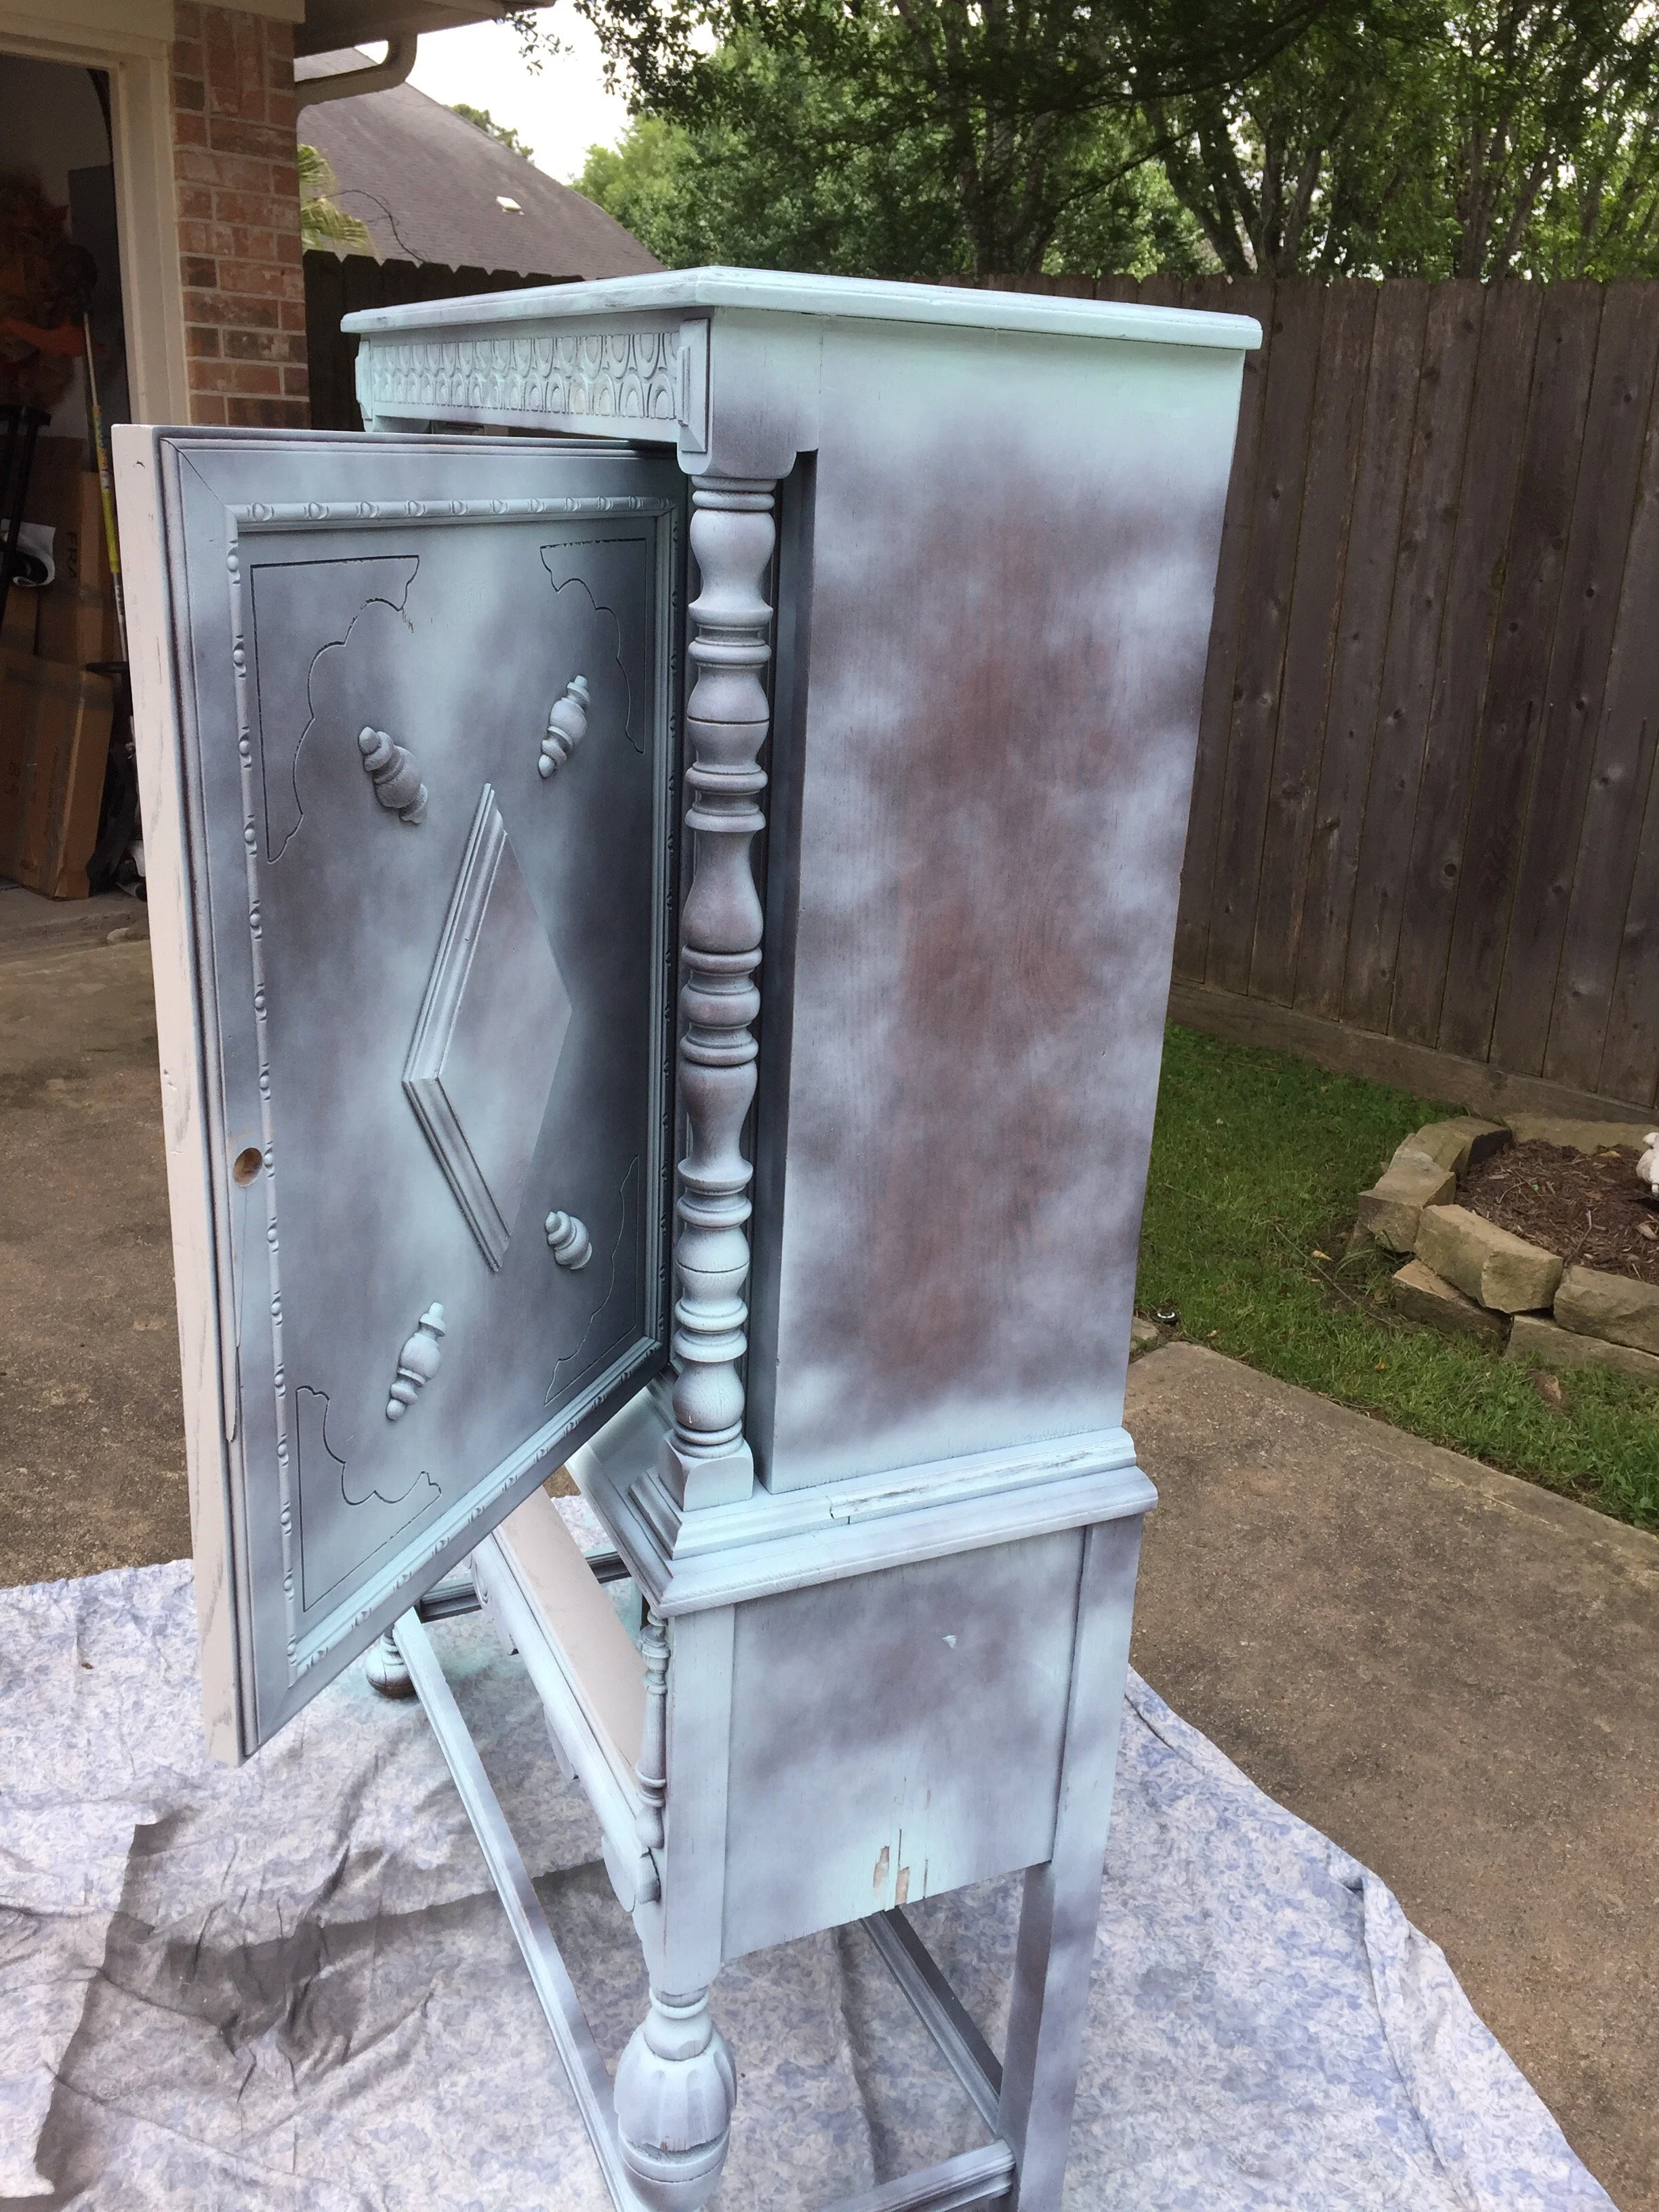
Much like when paint reacts to a lacquer or a stripper. Needless to say I was mortified that I had done all this work only to find I may have just ruined not only my paint finish but possibly the entire cabinet. I began immediately wiping off the small area of bubbling paint. Thinking there was something wrong with that can of paint I was using, I proceeded to open and initiate another can. Once again it began lifting and imitating crepe paper. Again I removed the layers down to the antique finish.

Not sure what was going on, was it the new type of paint, the antique underlying finish, a chemical reaction? Not sure, I stopped the process and began doing some research on the Krylon paint and primer products before moving forward. Almost immediately I came across several chats on the lifting of this paint.
Apparently due to new government regulations imposed on spray paints working time is limited. It states that all your spray layers should be done within 10-20 minutes to avoid this unfortunate mishap. That sure makes larger projects almost impossible I thought, you can only imagine my surprise and confusion at this juncture. As you can see by the photos above, I needed to even out the paint on the entire piece and apply a final coat of color. According to the forums, this was no longer an option.

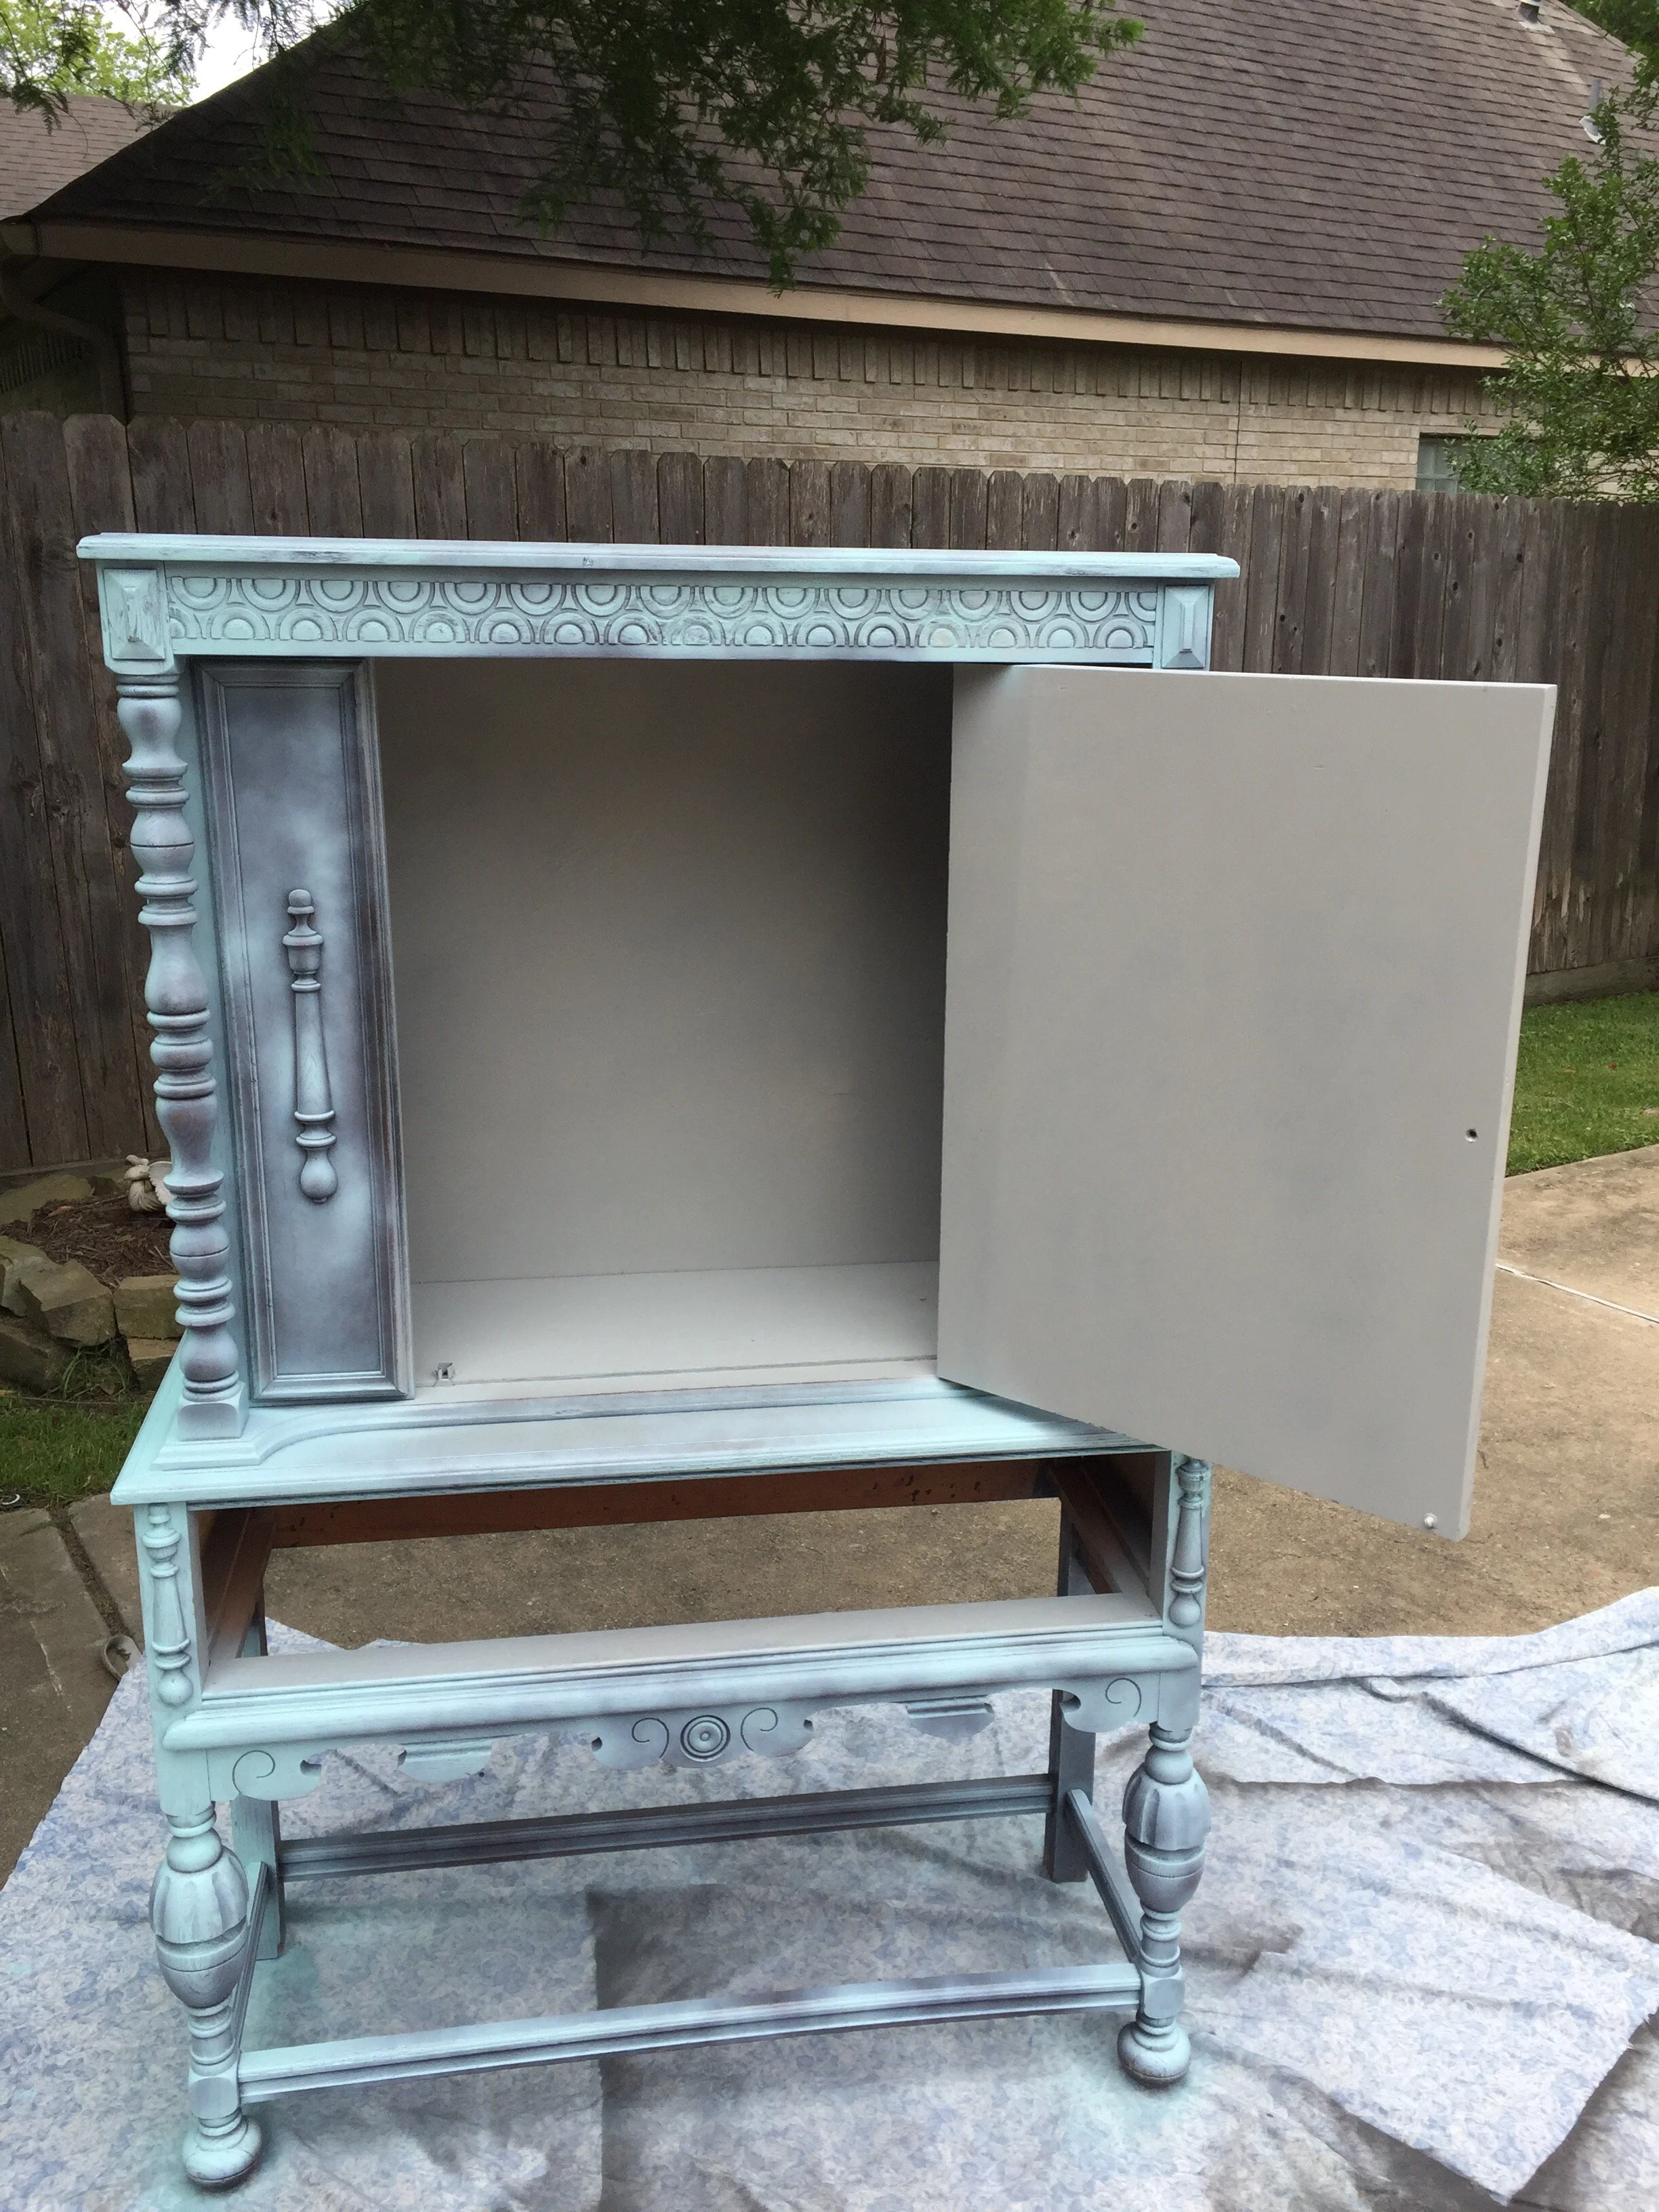
I returned to my cabinet and set to *prepping & priming the areas that I had stripped down to the antique finish. By this point I realized buying the 2 in 1 spray was not a timesaver. I allowed the primer to dry, then recoated just these areas evenly with the aqua Krylon. When the repaired area finally matched, I allowed the entire cabinet to dry. Knowing I couldn’t put a final even coat on, I began thinking about what I wanted to do to cover the uneven areas.
With a little silver leaf, some knew hardware and a lot of patience I knew I could updated the cabinet to the design I had originally envisioned. So I went to work applying the silver leaf over the lighter areas and the ornate decorative cutouts. This treatment allowed me to not only embellish, but also hide the imperfections. A win, win...
All in all, my near disaster turned out to be a good thing. It made me, and hopefully you, aware of the changes that have been imposed on *spray paints and how to work with them. More importantly, it forced me to reach into my creative tool belt and figure out my new direction. Fortunately, ending in a beautiful furniture masterpiece in my foyer. Thank you for reading my blog and hoping my mistakes will prevent yours.
For my future furniture projects, I am using Rustoleum chalk paint. It is available in only a small selection of colors currently, but is much easier to layer coats and it dries to a smooth, non-chalky matte finish.